GET SOCIAL WITH US
RECENT ARTICLES


Newsletter
Keep up-to-date with the latest promotions, news and releases!
A Brief Guide to Dermal Anchor Piercings
Exploring the Intricate World of Dermal Anchor Piercings
In the realm of body modification and self-expression, piercings have long served as a way for individuals to show their unique style. Among the myriad of piercing options available, dermal anchor piercings stand out as a fascinating and versatile choice. These piercings, also known as micro-dermal piercings or single-point piercings, have gained popularity in recent years for their aesthetic appeal and innovative approach to body adornment.
Understanding Dermal Anchor Piercings

Unlike traditional piercings, which involve passing a needle through two entry and exit points, dermal anchor piercings feature a single point of entry into the skin. This point anchors a small metal base beneath the skin's surface, onto which various decorative attachments can be screwed or affixed. This unique design allows for greater creativity and customisation, as the attachments can be changed to suit different styles and preferences.
Dermal and surface piercings differ in their anchoring and placement. While dermal jewellery sits atop the skin's surface, it's not considered a surface piercing. Surface piercings feature distinct entry and exit points, anchored by barbells resembling open staples, inserted beneath the skin with decorative tops resting on the skin's surface.
The process of getting a dermal anchor pierced requires skill and precision. A trained piercer will carefully mark the desired location, ensuring it complements the individual's anatomy and aesthetic goals. Using a sterile needle or dermal punch, they create a small pocket beneath the skin where the anchor base will be inserted. Once in place, the skin heals around the base, securing it in position. The entire procedure is relatively quick, but proper aftercare is crucial to promote healing and prevent complications.
One of the most appealing aspects of dermal anchor piercings is their versatility. They can be placed almost anywhere on the body, from the face and neck to the chest and limbs. Common locations include the cheekbones, nape of the neck, chest, lower back, abdomen, and thighs. Although there aren't strictly off-limit places, the skin has to be thick enough to hold the dermal anchor in place.

Caring for Your Dermal Anchor Piercing
Aftercare is essential to ensure your dermal anchor piercing heals correctly and maintains integrity. Following the piercer's instructions is paramount, typically involving keeping the area clean and avoiding trauma or excessive movement during the healing process. It's also essential to monitor for signs of infection, such as redness, swelling, or discharge, and seek medical attention if necessary.

What's the healing time for a dermal piercing?
Generally, dermal piercings take one to three months to heal. However, disregarding your piercer's aftercare advice may prolong the healing period. Initially, crusting around the jewellery top and slight swelling is common, subsiding gradually as healing progresses. While these symptoms are normal, any additional signs like yellow or green pus, warmth, or other indications of infection warrant attention.
It's also important to choose the right jewellery material for your piercing.
- Surgical titanium: is ideal for sensitive skin, as it's less likely to irritate.
- Surgical stainless steel: the most popular choice, noted for its hypoallergenic properties, though irritation is still possible.
- Gold: Opt for high-quality 14-karat yellow or white gold during healing, as gold higher than 18 karats may lack durability. Beware of gold-plated jewellery, which can cause infections and allergic reactions.
How Long Does a Dermal Anchor Piercing Last?
The duration varies as the skin gradually pushes the anchor upward until it naturally dislodges, which can occur anywhere from a few months to a few years, depending on the piercing's care.
How should you retire the piercing?
Seek professional removal from your piercer rather than attempting it yourself. The process typically involves:
- Cleaning the area and drying it.
- Unscrewing the top.
- Massaging the surrounding skin to loosen the anchor.
- Making a small incision and removing any scar tissue.
- Using forceps to extract the anchor.
- Applying a suture or bandage.
While a general practitioner or cosmetic surgeon may assist, consulting your piercer beforehand is recommended to discuss potential risks and referrals.
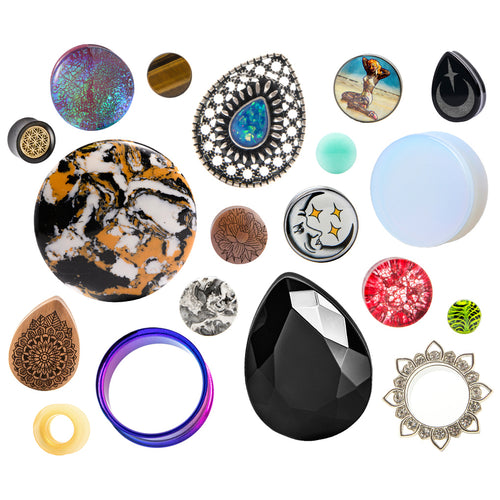
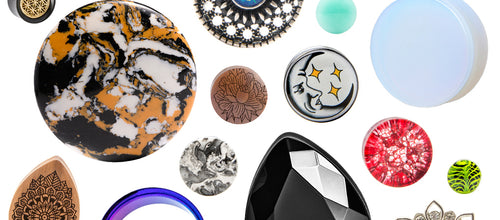
BESTSELLERS

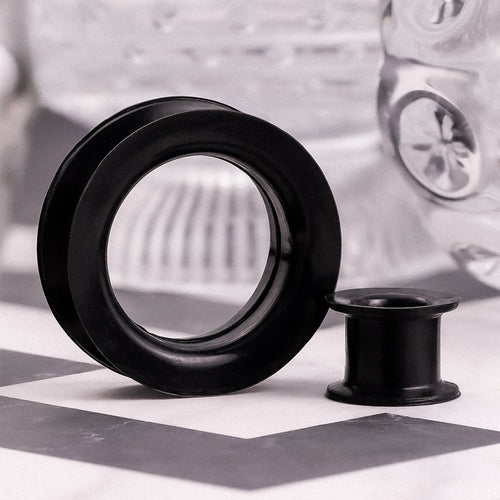
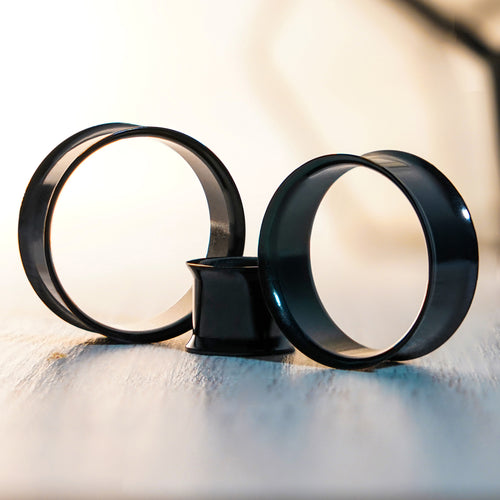
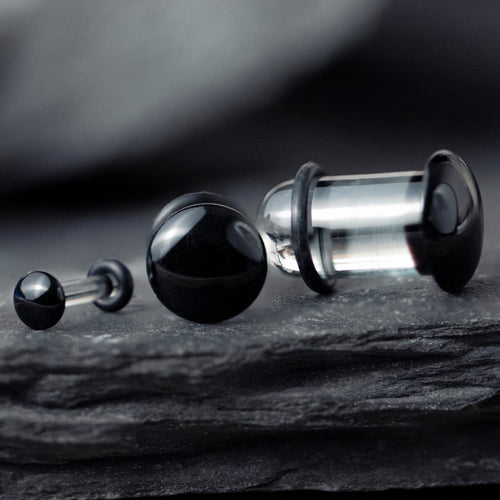
Black Silicone Ear Tunnel
from
£3.00
-v1657710003014.jpg?512x640&transform=resize=350)
Black Stainless Steel Double Flared Tunnel
from
£7.00
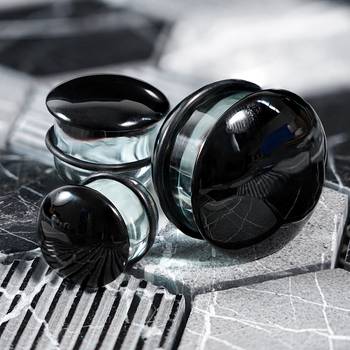
Clear & Black Single Flare Glass Plug / Gauge
from
£5.00

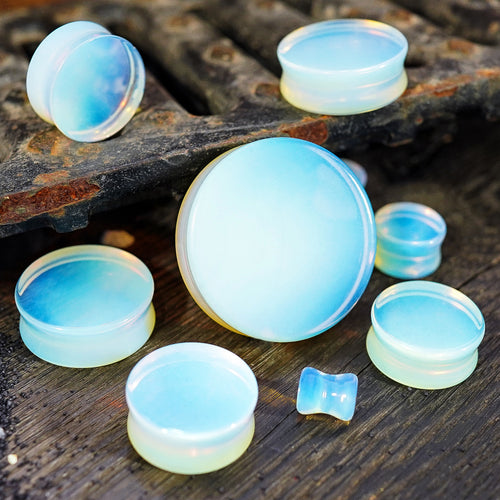
Opalite Glass Plug / Gauge
from
£6.00

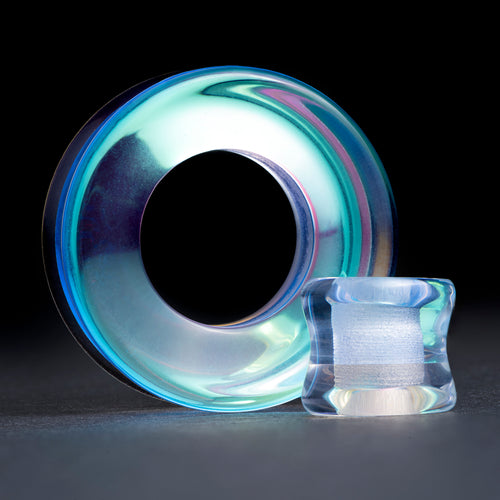
Blue & Green Iridescent Glass Ear Tunnel
from
£11.00

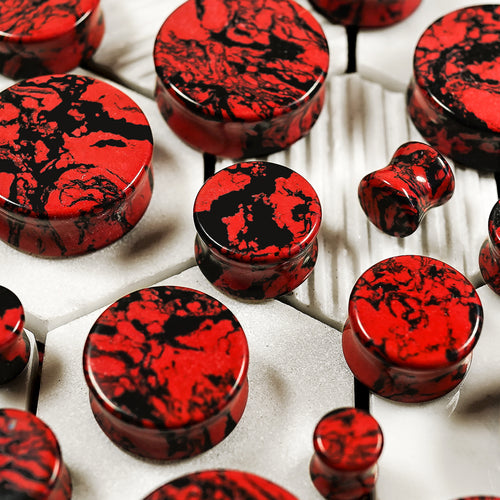
Marble Black & Red Stone Plug / Gauge
from
£9.00

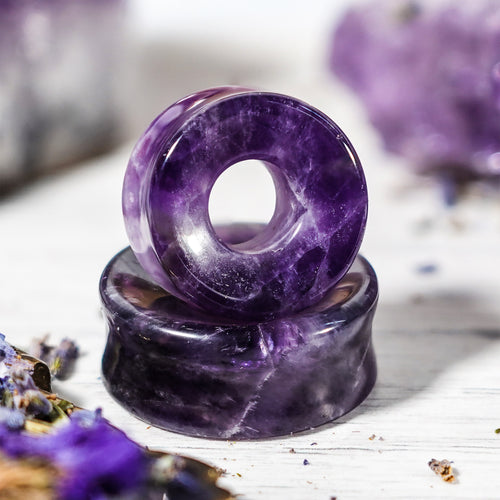
Amethyst Stone Tunnel
from
£8.00
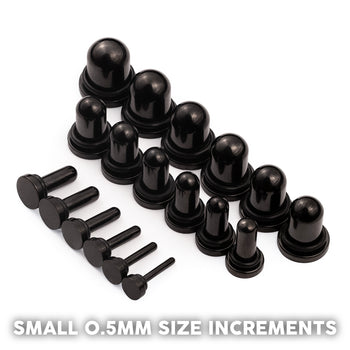
Black Metal Dead Stretching Kit
from
£15.99
NEW

Neon Green & Black Marble Effect Silicone Ear Tunnel
from
£6.00
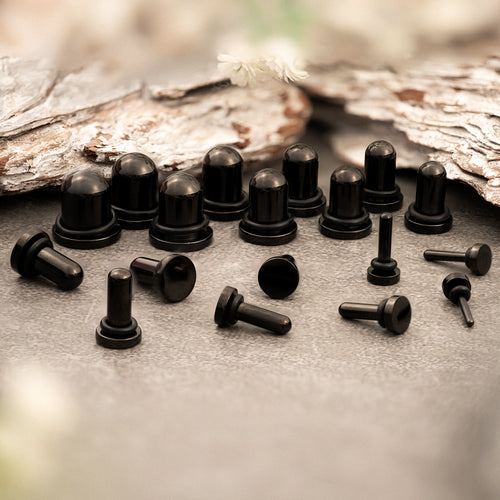
NEW


Clear & Black Glass Dead Stretching Kit
from
£15.99
NEW