GET SOCIAL WITH US
RECENT ARTICLES


Newsletter
Keep up-to-date with the latest promotions, news and releases!
The Ultimate Guide on How to Stretch / Gauge Ears
Ever wondered what it would take to stretch / gauge your ears?
Here at Custom Plugs we love this form of body modification and self expression. So, we want to give you the complete low-down on how to stretch / gauge your ears, what to expect, and answer all the questions you have before you get started.
It's a long guide, with a lot of info and so we've broken it up into chapters:
- An introduction on how to stretch/gauge your ears
- What size do you stretch to first?
- Stretching your ears slowly is best
- How long does it take to start stretching ears?
- How long does it take for stretched ears to close?
- Does ear stretching hurt?
- I'd like to stretch my ears but I’m worried it will be permanent. Will it?
- How to shrink stretched ears that won’t close
- How do I insert plugs?
- Single and flat flare plugs or tunnels
- How do I insert double flared plugs?
- What are tapers and how do I use them to stretch ears?
- How to stretch your ears with tapers
- How to stretch/gauge your ears without tapers?
- How long should I wait between each stretch?
- How to care for your ears/lobes after stretching?
- How to care for your plugs?
- What's the difference between plugs, tunnels, and gauges?
- My ears smell funky after stretching. What is that smell?
- What is a blowout in ear stretching?
- How to stretch your ears today
An introduction on how to stretch/gauge your ears
So let’s start at the beginning…
The process of stretching your ears isn’t a new one and has been done for centuries (if you want to know the full history of ear stretching check out our guide here.) But, if you want to stretch your ears, and you’re a complete beginner, choose a professional in a studio. They can start with the piercing and then show you how to gauge your ears the healthy way until you get to the size you want.
They can also give you advice on how to take care of stretched ears, as well as what to do if you think you might have an infection! That said, after your initial piercing you can stretch your ears at home yourself with ear stretching kits and tapers.
What size do you stretch to first?
When you start stretching your ears, you will most commonly get a 14 gauge piercing size. Once you decide on stretching you’ll then increase to a size 12 gauge (2mm) taper.
If you’ve had pierced ears for some time you may find that you’ve already stretched your ears slightly. Particularly if you’ve worn dangles or heavy jewellery and then you may find the first ‘jump’ doesn’t take as long to heal.
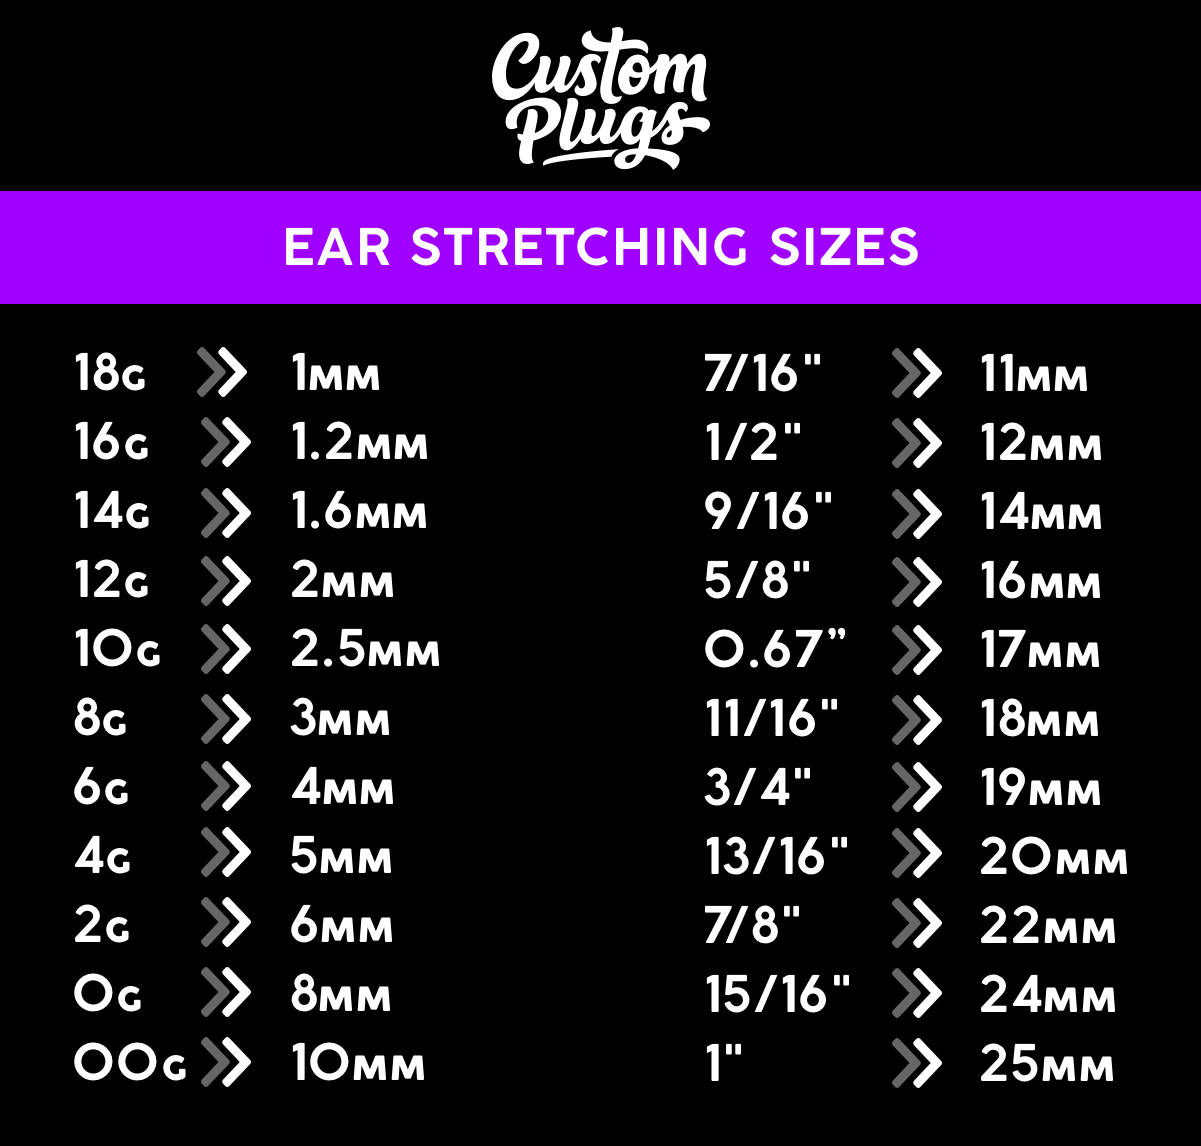
However, the opposite is also true. For those who have had their ears pierced using a needle, sometimes the thinnest studs are 20 gauge and you’ll only be able to start stretching with an 18 gauge if that’s the case.
Your ear piercer will be able to tell you how to gauge ears to the right size so you know your starting point. You can also read more about ear stretching sizes here.
Stretching your ears slowly is best
The biggest mistake people make when stretching their ears is being impatient and trying to increase sizes too quickly.
It’s all about knowing how to stretch your ears properly - and the truth is, that’s a long and slow process. The general rules of thumb are:
- Always go up one gauge at a time
- Allow your ears to fully heal before you start a new stretch.
- Avoid materials that could be prone to harbouring bacteria/causing irritation which can lead to infection and slow down healing.
This helps you avoid lasting damage, scar tissue forming (which prevents you from stretching further - particularly at the large gauges), and any complications or infection.
How long does it take to start stretching ears?
Ear stretching can be done as soon as you want. The only real condition is that you need to have a completely healed piercing before you start. It’s best to wait up to 6 months (sometimes longer) to make sure it’s fully healed and you’ll be able to stretch evenly.
How long does it take for stretched ears to close?
Everyone always asks, how long does it take for stretched ears to close and the problem is, it depends entirely on the individual, because every ear is different. However, there are some factors that will affect how long it will take, including:
- How elastic your skin is
- The size of your stretched earlobes
- How long it took to stretch the earlobes
- Whether you had any issues in the process of stretching your ears
- How well you care for your earlobes
That said, you’ll be looking at a few months, usually around 4 months for smaller gauges, all the way up to a year or two for larger gauges.
Note: Whilst there is a common ‘point of no return size’ for ear stretching, every ear is different and some may not close at all after a certain size.
Does ear stretching hurt?
Ear stretching tends to tingle or sting but it shouldn’t hurt a lot. If your earlobe feels tight or you’re in pain after inserting the taper or plug, then the size is too big and you should opt for something smaller. Only very mild discomfort and pain are normal; everything else is a clear signal that you’re stretching too fast.
If this is the case, reduce the size and give it an extra couple of weeks healing time. In the meantime, make sure you apply the oil of your choice to the earlobes at least two times a day to help speed things up a bit. We suggest using Jojoba Oil

I'd like to stretch my ears but I’m worried it will be permanent. Will it?
Most people can stretch up to 0 gauge and shrink their ears back without having an issue. Whether you will be able to do the same depends on many factors including:
- How quickly you heal to the actual stretching process
- The amount of scar tissue from stretching (if there is any)
- How long you’ve had stretched ears for.
The so-called “point of no return,” which is the size or gauge after which you will not be able to go back to original size, is a range between 0g and 4g for the majority.
But, it’s important to note that this isn’t always the same for everyone. Some will easily be able to go up to 00g, whilst others might struggle to get back from 10g.
Top Tip: The easiest way to work out if your ears will heal or not is to check whether your normal sized piercings are prone to closing if you don’t wear jewellery. If not, you might have issues getting back to your original size after stretching.
How to shrink stretched ears that won’t close
If your ears aren’t closing or shrinking there’s pretty much only two options left.
Wear plugs and tunnels that are the smallest size your ears will shrink to.
Opt for a reconstructive option like having the holes stitched and surgically altered back to their original size. The downside is that you won’t be able to stretch them again, and some can’t even get a traditional piercing afterwards.
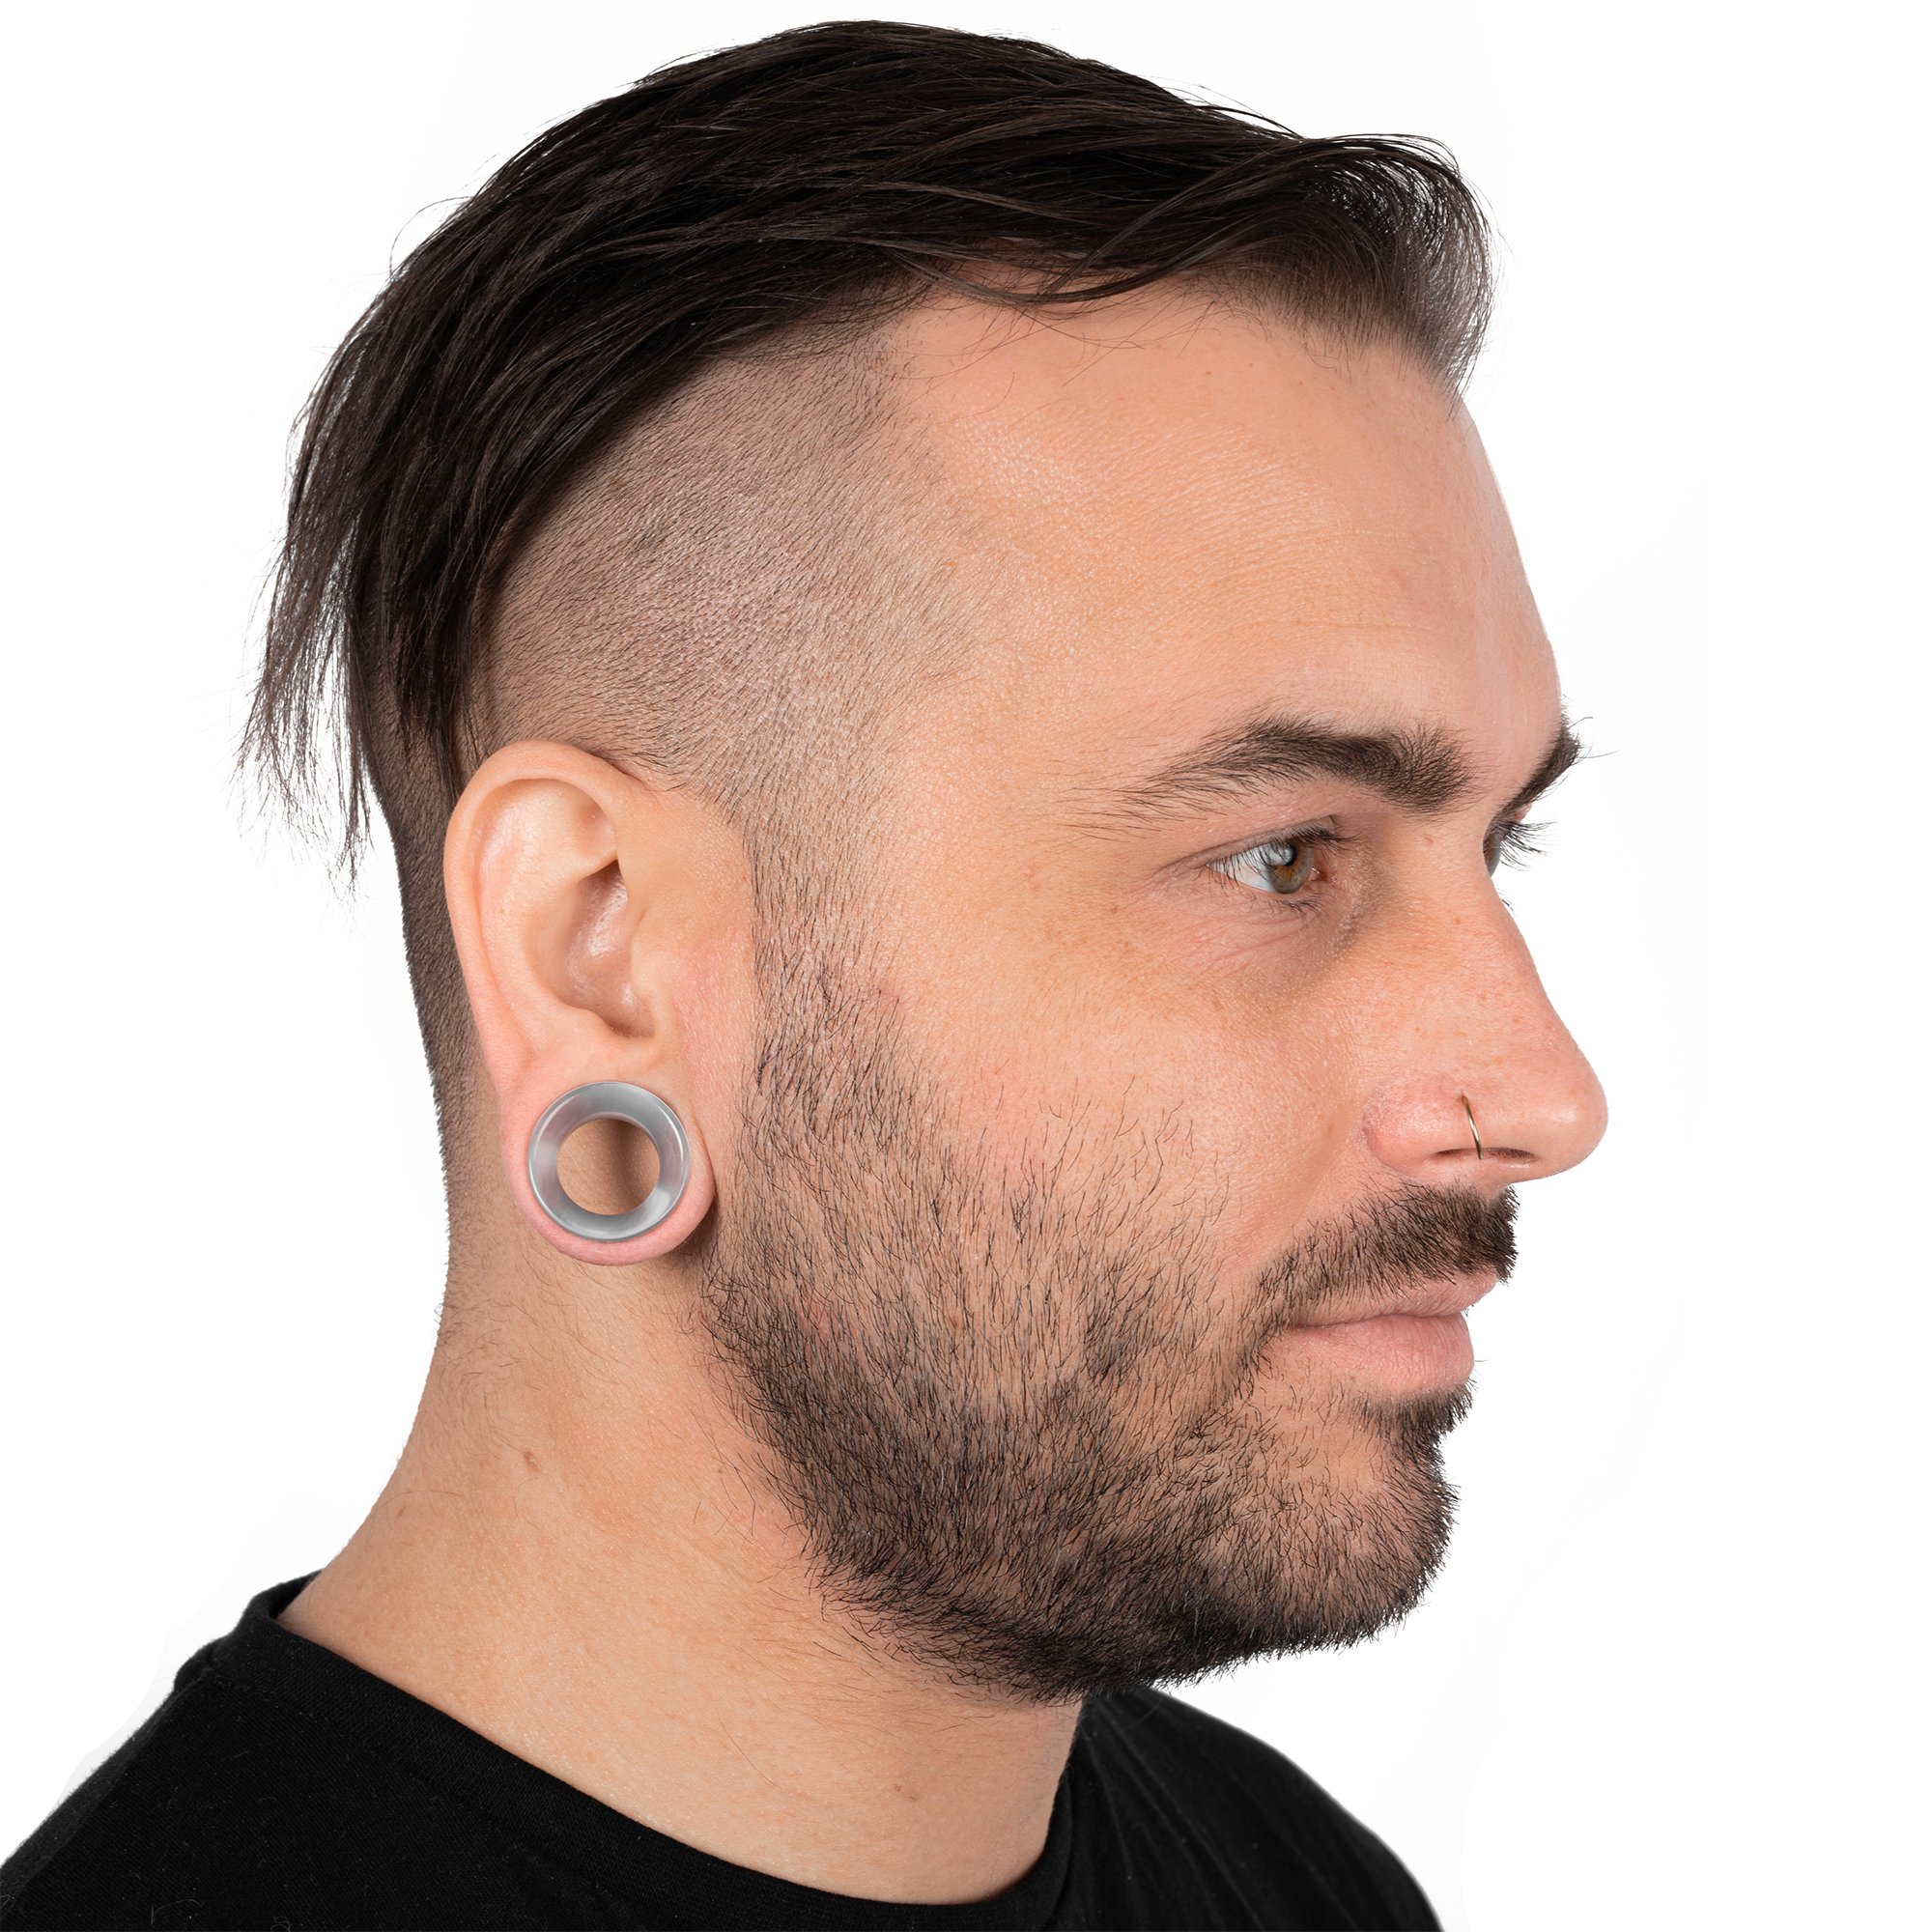
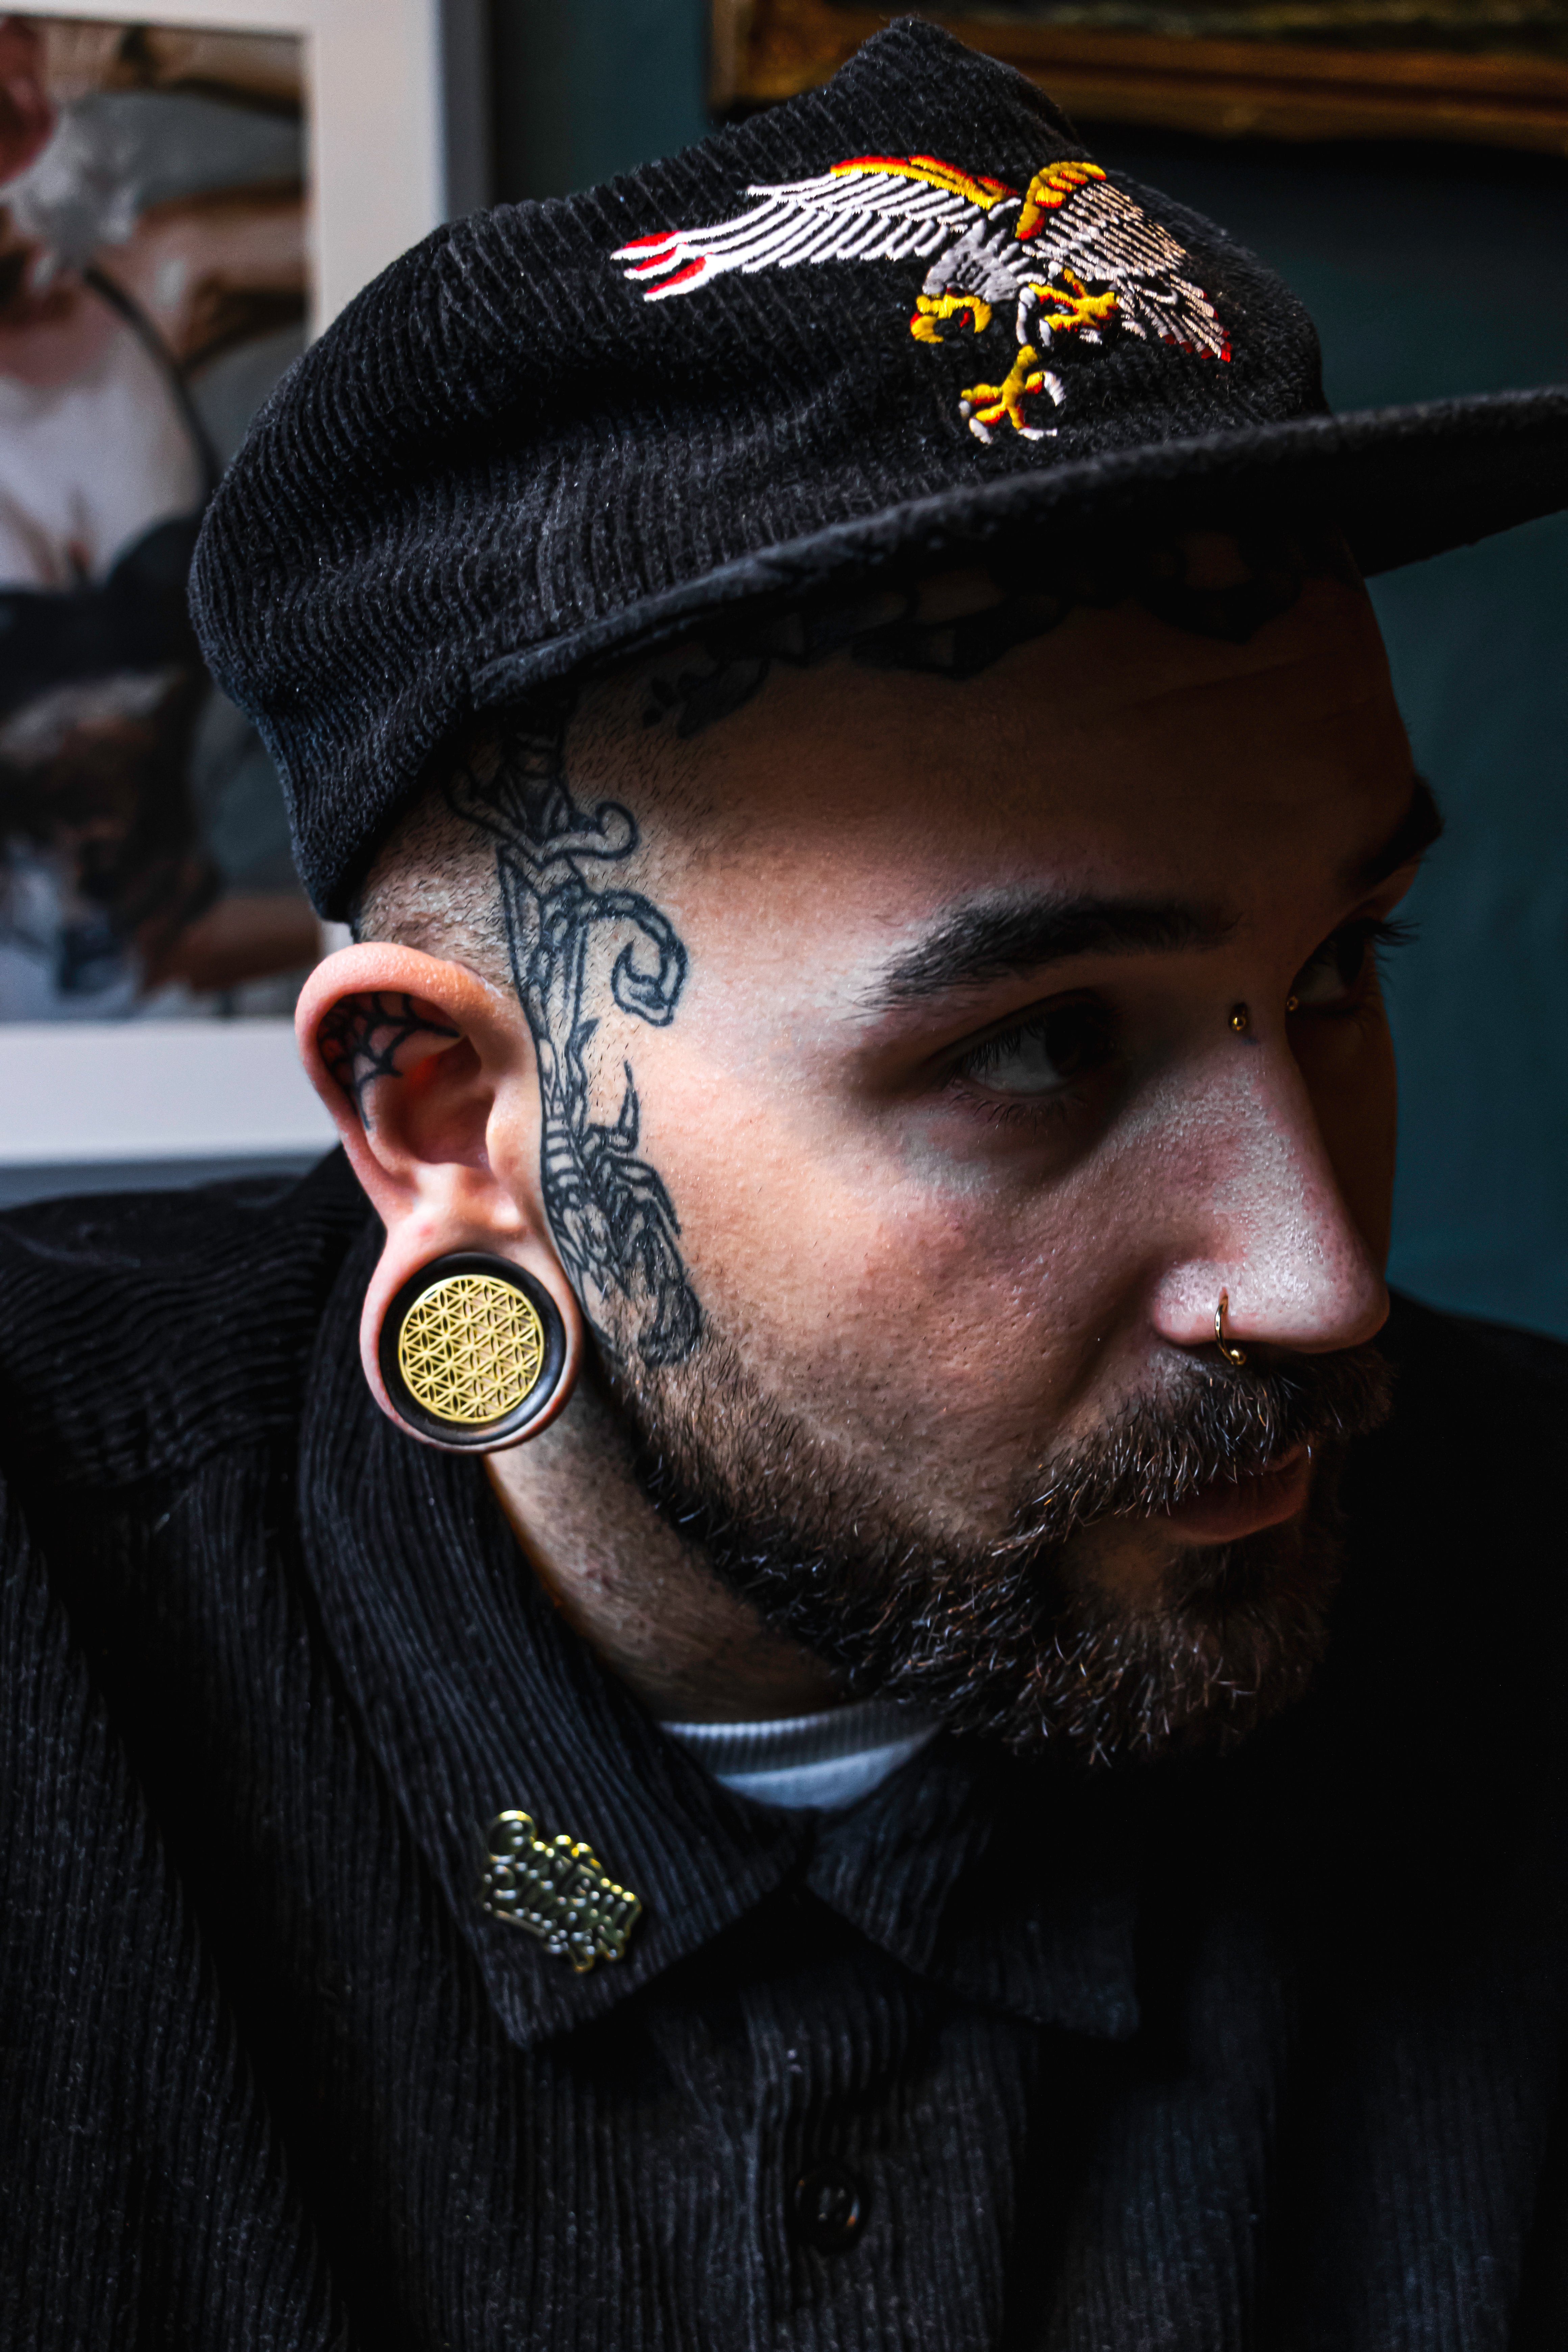
How do I insert plugs?
The best time to insert plugs is right after a hot shower. The warm water helps loosen the skin a bit and relaxes it, which makes it easier and more comfortable.
Single and flat flare plugs or tunnels
Single flared and flat flare plugs and tunnels can be inserted by using a taper that’s the same size (or a bit smaller) than your current size. You will also need a lubricant too. It’s best to stick to water-based or natural lubricants like Jojoba Oil.
- Put lubricant on the taper, covering the narrower side until roughly the middle of the taper.
- Insert it into the piercing, rotating a few times to cover all sides with lubricant too.
- The taper should go through the piercing all the way through.
- Once you reach the end, put the plug or tunnel onto the broader side of the taper, align well, and then continue pushing through so the plug/tunnel goes through too.
If you’re having trouble and can’t put the taper through, use a smaller size and make sure you have the right size plug too.
How do I insert double flared plugs?
For double flared plugs, you will need a different method, but first, it’s important to know that double-flared plugs and tunnels can only be worn on fully healed ears. If you have recently stretched your ears you should wait around four to eight weeks before trying to wear double flared plugs.
To insert double flared plugs you’ll be using the “button up” method, where you’ll be inserting them the same way you would thread a button – at an angle, to get the edge in first.
Then you’ll align it when you’re all the way through. That’s why you have to have your ear stretched at least the size of the flare, if not larger.
Note: Never, ever try to force plugs and tunnel in, or you could tear your earlobes, resulting in scarring, blowouts, and improper healing.
What are tapers and how do I use them to stretch ears?
Tapers are specialised tools used to stretch ears that most of the time look like very long cones. The broader side of the cone at its largest is the specified gauge size of the taper and the size you’re aiming for.
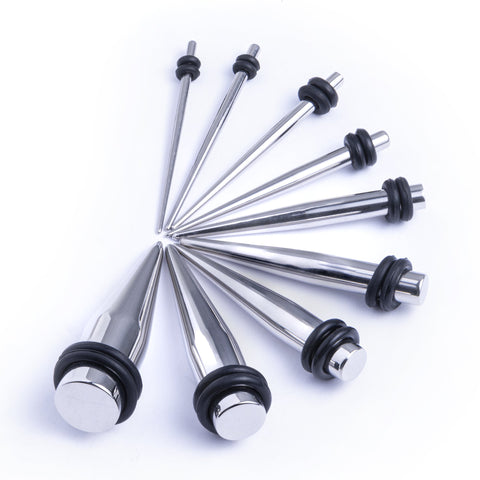
They come in a range of sizes and you’ll want to make sure you use tapers made from a non-porous material that is designed to stretch your ears.
How to stretch your ears with tapers
When you’re ready for your stretch make sure to clean and disinfect the area.
Then, lubricate your freshly cleaned earlobe and the taper
Slowly insert the pointy side first and then try to slide it through. If there is resistance or pain, you should wait to stretch your ears further.
If there is no resistance and it feels comfortable, simply line up the next gauge of tunnels or plugs and push them through. Once they are through, fix them with “O” rings.
This is it, you’ve successfully done the next stretch. Your earlobe may feel warm, tingly, or sting slightly but if you have any pain or discomfort, remove the jewelry and wait at least one or two more weeks.
Important tip: Many people have different elasticity in each of their earlobes, which means that if you’re stretching both of your earlobes, you might have a larger gauge on one of them because it stretches faster.
How to stretch/gauge your ears without tapers?
If you want to know how to stretch ears without tapers it’s a fairly easy method called taping although this is much easier for larger stretches than it is for smaller ones.
Just as it sounds, taping (bondage or PTFE tape specifically) is used to increase your stretch size by wrapping tape around your plugs and tunnels a couple of times to help increase the stretch size with your own jewellery.
This process tends to take longer but you can increase the amount of tape every couple of weeks and it means your ears are more likely to stay healthy if you’re aiming for a larger gauge size.
How long should I wait between each stretch?
Before you move on to the next stretch, it’s best to wait for at least a month between stretches but ideally you should wait for 6-8 weeks.
The main rule here is the longer you wait between the stretches, the healthier your lobes will remain and the more viable they will be for the bigger gauges. It will also avoid the build up of scar tissue.
Here is a good example timeline to get from regular piercing to 00 gauge:
- 16g to 14g - 1-2 months
- 14g to 12g - 1-2 months
- 12g to 10g - 2-3 months
- 10g to 8g - 2-3 months
- 8g to 6g - 3-4 months
- 6g to 4g - 3-4 months
- 4g to 2g - 3-4 months
- 2g to 0g - 4-5 months
- 0g to 00g - 4-6 months
Of course you should always listen to your body and if you’re struggling to fit the taper through or stretch you should wait for further healing.
Following this process it would take roughly two years to get to 00 gauge this way. Remember, you can do it faster too, but your earlobes will thank you if you take it nice and slow.
How to care for your ears/lobes after stretching?
Oil massages are the best practice after stretching your earlobes and this is best done after a shower because they need to stay moisturised. Use natural or water-based products to massage your earlobes, for at least five minutes each which helps get rid of any scar tissue, dead cells, and remaining sebum.
If you get any tears or injuries you should treat your newly stretched ears like any new piercing and soak them in (sterile saline wound wash, not saltwater) for at least 10 minutes a day to speed up healing and avoid infection.
We'd recommend using Neilmed sterile saline wound wash in the fine mist.
Try to avoid alcohol, peroxide, and similar chemical products because they are quite harsh on the skin and will dehydrate it or aggravate your stretched ears further.
How to care for your plugs?
First and foremost, use antibacterial soap to clean your hands and the area, or you risk getting bacteria all over your plugs.
Care instructions vary depending on the material the plugs are made of – i.e., whether they are porous or not.
Plugs and tunnels made of porous materials like organic plugs require substantially different care from those made with non-porous materials.
Porous materials such as wood, bone, and horn should never be soaked, as they will swell up and it’s going to be impossible to wear them afterwards. Instead of washing them, only clean them with a damp cloth mixed with antibacterial soap, and pat them dry afterwards. Every few months, you can polish them with tea tree or jojoba oil so they remain shiny and don’t dry out.
For non-porous materials antibacterial water soaking is the best and easiest option! For some metals you’ll need to make you dry them properly after cleaning so that you avoid them dulling or tarnishing.
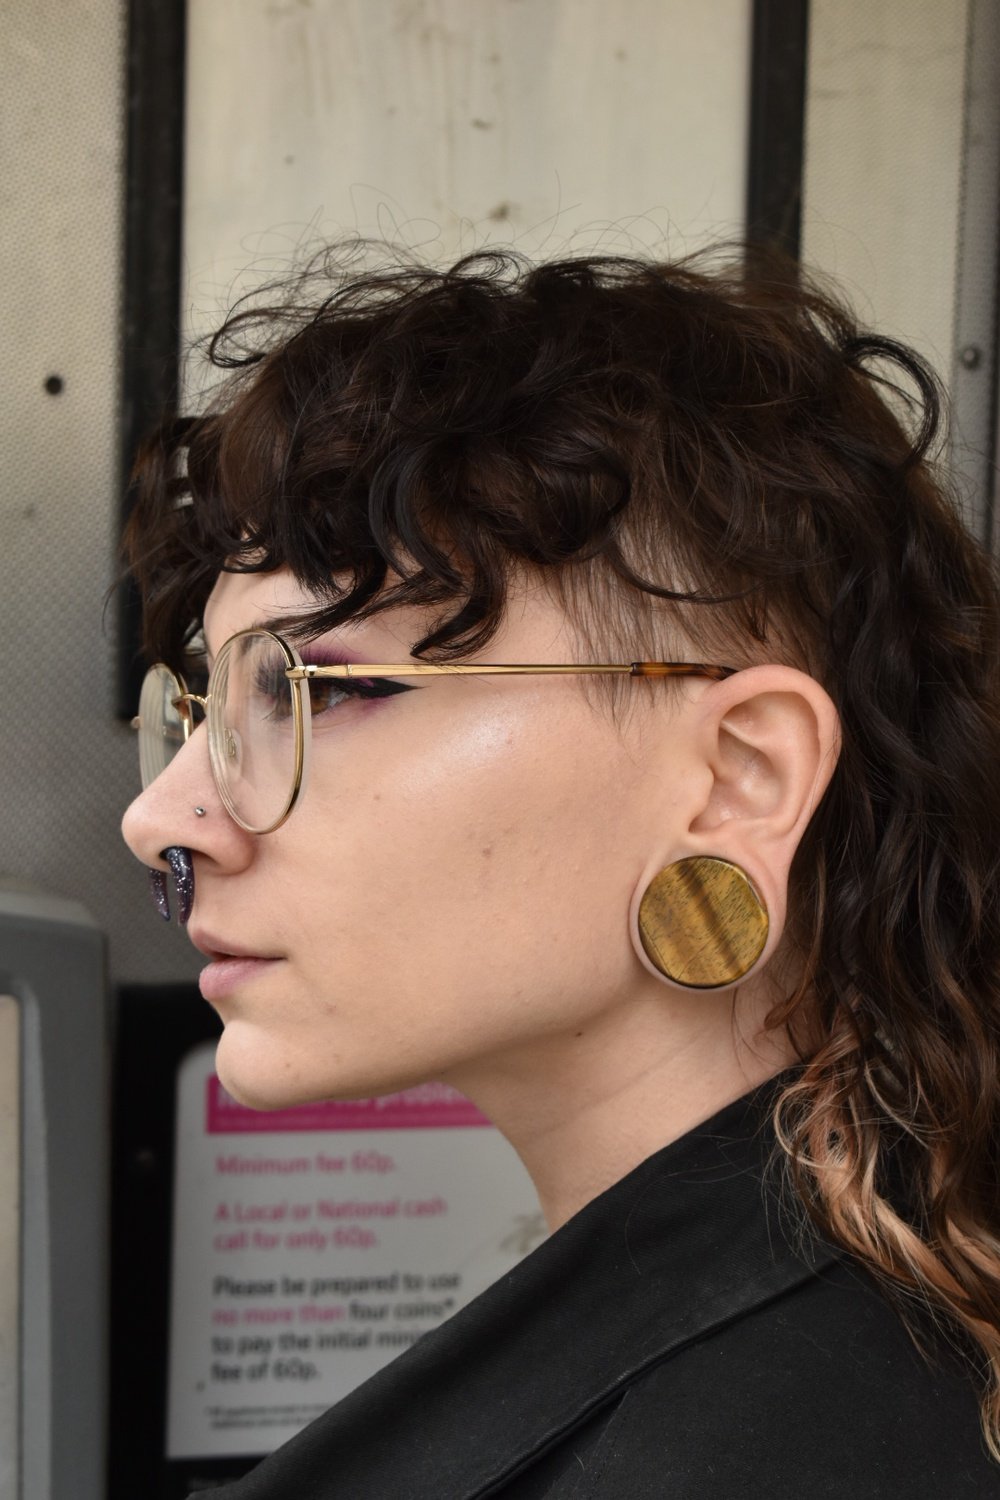
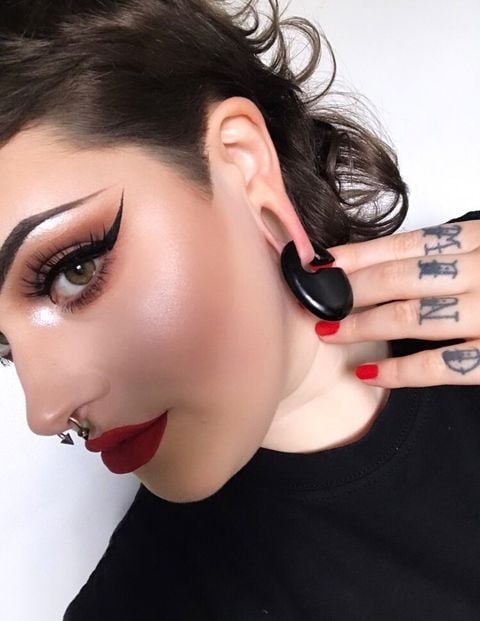
What's the difference between plugs, tunnels, and gauges?
The terms plugs, tunnels and gauges, are often used interchangeably, which leads to so much confusion when first starting with ear stretching.
Plugs vs tunnels - the difference
The most prominent difference is between plugs and tunnels: Plugs are solid, and tunnels are hollow. When wearing them, plugs will fill the stretched earlobe, and tunnels will only give it shape while enabling anyone to see through the actual piercing.

There are also plugs that are fully see-through, which might cause confusion because it seems like they are tunnels at first glance. Other tunnels, however, have decorative shapes inside the actual hole, making them appear like plugs at first, but since the decoration is still inside a hole, they are still considered tunnels.
Gauges aren’t quite the same
Gauges are something different altogether and even though many people tend to use it to refer to plugs or tunnels, gauges are actually a type of measurement. The smaller the gauge size, the larger the tunnel or plug will be. Gauges go from 20G (the smallest) all the way to 00G, which is the largest gauge size. After that, larger tunnels and plugs are referred to in inches.
My ears smell funky after stretching. What is that smell?
As with many other parts of the body, we have a ton of dead skin cells that usually drop off on their own, but with stretched ears, the skin can get trapped between the tunnel/plug and the skin.
When you combine them with sebum, an oily substance created by our skin that acts as a protective layer, you’ll get that unpleasant odour.
The materials of your plugs and tunnels also play a part, with acrylic plugs and silicone plugs being more prone to this issue. They need to be cleaned more often and not be worn over longer periods of time.
Note: Some funky smells can indicate an infection, so if you have a smell along with any oozing or pain you should take a trip to your doctor to get it checked out and potentially antibiotics. Try to avoid putting cream on it without consulting your doctor first as it might aggravate the infection.
What is a blowout in ear stretching?
When you stretch your ears too quickly, you might see a fistula which is a healed tunnel of skin, that’s popping through the back due to pressure behind the plug or tunnel you’re wearing. This is called a blowout, as it looks like the piercing is turning inside out.
Healing it takes time, but it can be done! The first thing to do is downsize, so there’s not so much pressure on the piercing, and then treat it the same way as a fresh piercing with sterile saline wound wash, not saltwater.
We'd recommend using Neilmed sterile saline wound wash in the fine mist.
Put your earlobe into the solution and let it soak for at least ten minutes! Do this at least two to three times a day, and combine with ten-minute massages each evening.
You should avoid using cotton wool or cloths that might moult and get fibres in the area.
How to stretch your ears today:
We sell ear stretching kits as well as individual tapers of varying sizes so you can start your ear stretching journey straight away. Check out our online store, or if you have any questions, get in touch and we’ll get back to you in a day or two.
BESTSELLERS


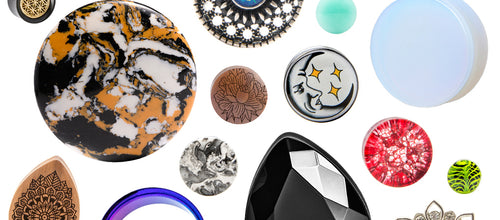
Black Silicone Tunnel / Plug / Gauge
from
£3.00
-v1657710003014.jpg?512x640)

-v1659606134061.JPG?5760x3840)

Glass Opalite Plug / Gauge
from
£6.00


Rose Quartz Plug / Gauge
from
£6.00


Amethyst Plug / Gauge
from
£6.00


Black Onyx Plug / Gauge
from
£8.00

Triad Dangle Plug / Gauge
from
£9.00


Gold V Saddle Plug / Tunnel / Gauge
from
£12.00
-v1659606656877.JPG?3508x5262)


Blue & Green Iridescent Plug / Tunnel / Gauge
from
£11.00


Black Ebony Convex Plug / Gauge
from
£9.00


Sono Teardrop Abalone Plug / Gauge
from
£12.00

Infinity Dichroic Glass Plug / Gauge
from
£8.00


Blue Goldstone Plug / Gauge
from
£7.00

Grey Cats Eye Plug / Tunnel / Gauge
from
£9.00

Brass Flower Of Life Plug / Gauge
from
£10.00

Tiger Eye Plug / Gauge
from
£9.00


Gold Mosaic Abalone Plug / Gauge
from
£9.00
-v1655735577738.jpg?480x640)

Pearl Silicone Tunnel / Plug / Gauge
from
£3.00
£5.00
SALE


Duo Pearlescent White & Teak Plug / Gauge
from
£9.60
£12.00
SALE


Duo Dark Magenta & Teak Plug / Gauge
from
£9.00
£12.00
SALE
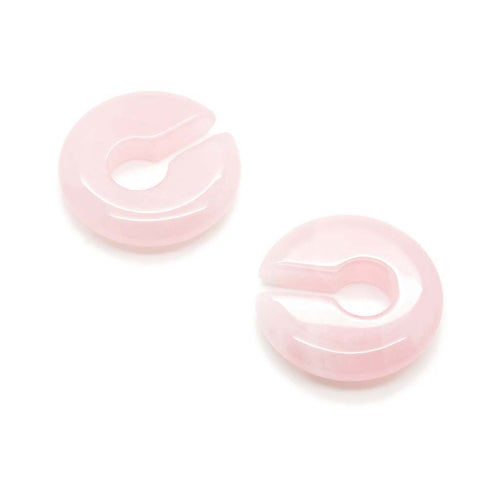
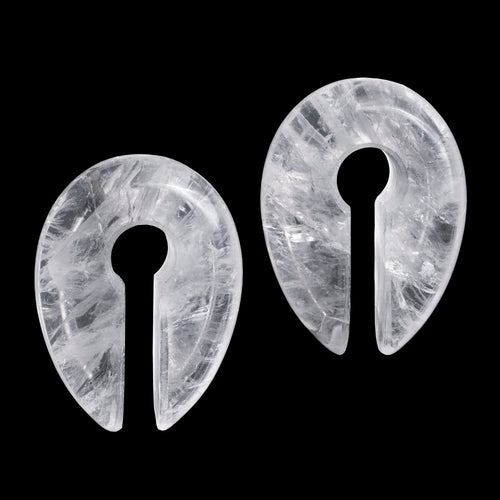
Rose Quartz Stone - Circular Keyhole Ear Weights (Pair)
from
£16.00
£20.00
SALE


Tattoo Machine Keyring
£9.99


Feather Dangle Plug / Gauge
from
£6.00
£8.00
SALE


FU2 Heart Hoodie
£34.99
-v1649319637906.jpg?960x1280)

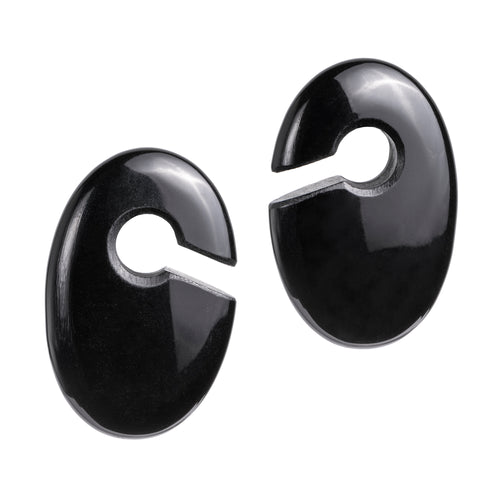
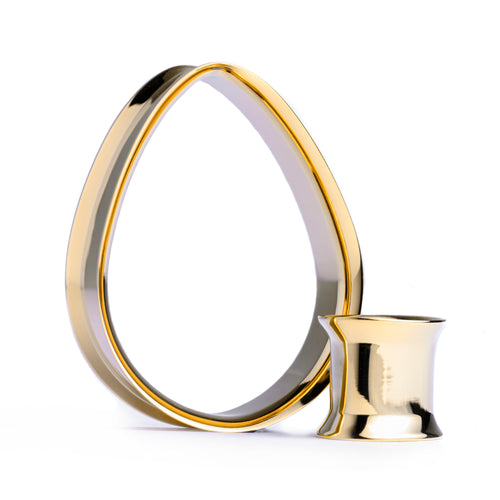
Pyramid - Brass Ear Weights (Pair)
from
£40.00


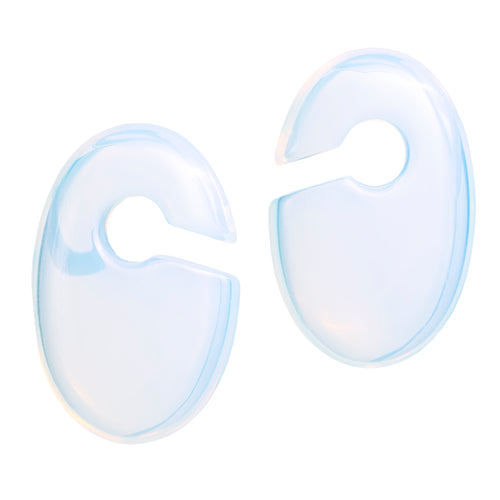
Opalite Glass - Oval Keyhole Ear Weights (Pair)
from
£15.00
£20.00
SALE


Steel Sword Plug / Gauge
from
£9.00


Silver V Saddle Plug / Tunnel / Gauge
from
£12.00


Rainbow Fluorite Plug / Gauge
from
£9.00


Teardrop Amethyst Plug / Gauge
from
£9.00


Black Solid Silicone Plug / Gauge
from
£4.00


Black Coffin Plug / Gauge
from
£9.00

Gold Steel Teardrop Tunnel / Plug / Gauge
from
£9.00


Teardrop Glass Opalite Plug / Gauge
from
£10.00


Picasso Jasper Plug / Gauge
from
£8.00
-v1652780384796.jpg?1024x1280)

Opalite Single Flare Glass Plug / Gauge
from
£5.00


Marble Black & Red Stone Plug / Gauge
from
£9.00
-v1649148828489.jpg?960x1280)

Glass Opalite Saddle Plug / Gauge
from
£8.00


Black Onyx Tunnel / Plug / Gauge
from
£7.00


Amethyst Tunnel / Plug / Gauge
from
£8.00